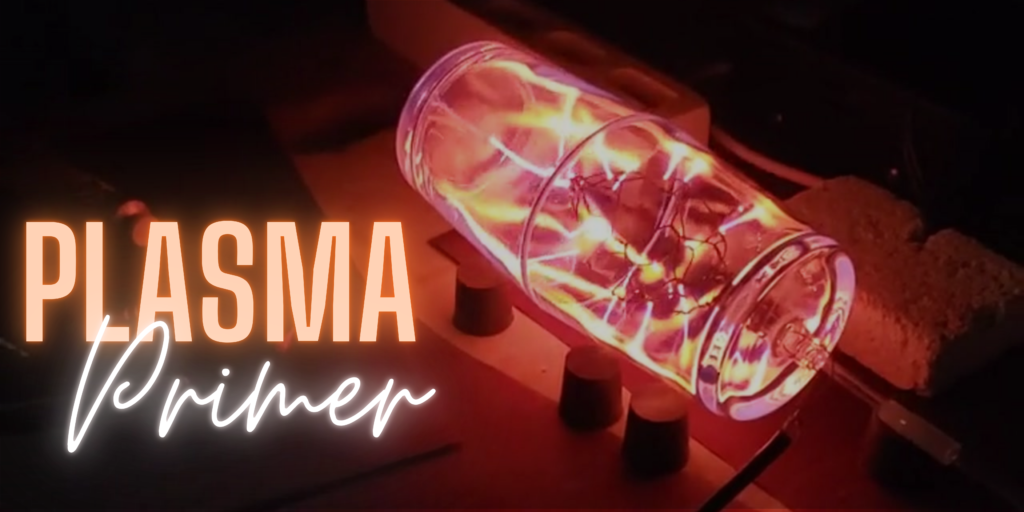
Hello Lightning Tamers!
What I have for you below is a simplified Plasma Filling Process that I use today with notes from my talks with Wayne Strattman, and his book The Art of Plasma: Creating lighted Sculpture with Gas, Glass, and Electricity and, Amy Lemaire, who teaches the Plasma Design course at the Salem Community College Glass Education Center, which I’ll link below a copy that she has share with me.
If I’m honest, there’s a host of many others that have inspired this sequence: Patrick Collentine, Ed Kirshner, Mundy Hepburn, and Aaron Ristau to name a few!
It’s important to note that between both version they follow similar setup, but may differ based on how our manifolds are designed, and gauges we use. So you may need to adapt your own set of steps when working. Which I highly recommend, so that you can document your process and truely compare notes if something is or isn’t replicated.
Essentially, it breaks down to the following:
- SETUP your equipment
- CHECK your pieces
- PREPARE for bakeout and evaucation
- FILLING to satsifiying plasma effects
- TIP OFF and evaluation
Arguably, the best practice is to CHECK your vessels before committing to moving around or setting up your equipment, but most often these steps happen in the same instance, which is common for teaching and public enviroments. Though it can be disheartinging to setup time of fill something only to find that the piece does not pass inspection, or has a leak.
For Guidelines review slides 12-24 of Plasma Guidelines for Vessel Structure, 2nd Edition or watch Plasma Primer Livestream for Plasma Guidelines for vessel structure.
There’s definitly much more nuance to this process of filling plasma, which I hope I can cover as soon.

Percy Echols II, Taming Lightning LLC
Simplified Plasma Filling Process
(used by Percy Echols II)
Setup:
- PROGRAM Kiln to heat slowly to 500-600℉ (260-315℃).
- SETUP hand torch.
- PREPARE manifold for use – move is mobile, vacuum pump is running, testing vacuum health.
- SETUP Plasma Driver to be used with the vessel.
- Prepare additional accessories: induction heater, Tesla coil, and additional power supplies, and Oscilloscope and Dyna-Meter (Hv Probe)
- Collect appropriate PPE: eye protection, gloves, etc.
Check:
- INSPECT glass for cracks, chipping, and foreign inclusions, including adequate thickness and flat surfaces.
- POLARISCOPE (only works on clear glass) to check for unusual stress; verify that you have taken the adequate time for the glass to be annealed.
- LEAK TEST using a barrier between you and the work pieces, such as a acrylic cover, box, or use of kiln in case of an implosion.
Prep:
- Position the glass vessel in the kiln. Consider how you will tip off the piece, and ensure that electrodes are accessible. Do not attach the power supply.
- Heat the kiln to 500-600℉ (260-315℃) (between 68-122℉ below strain point)
- When the kiln reaches temperature, open the Isolation valve to the filling arm SLOWLY to evacuate the piece.
- Let the piece vacuum out as long as feasible. Ideally, at least 10-15 min. 30 min -1 hr or more for forms with a lot of surface area. Set a timer.
Filling:
- Process electrode(s) with the induction heater. Heat until evenly cherry red.
- Vacuum for another few minutes, look to Thermocouple Gauge (micron gauge) for pressure to be less than 10 Microns
- Let cool to around 200℉ (94℃), then attach the Plasma Driver and HV Probe to the electrode. Keep Plasma Driver OFF until gas has been introduced.
- Close Main Vacuum valve
- Review Manometer (Fill Gauge)
- Meter in gas mixture. Take notes.
- Turn on Plasma Driver
- Continue to alternately add gas and vacuum out, until satisfied with the fill. Taking notes will each addition.
- If using HV Probe, look for fill that is equal to or less than max voltage of Plasma Driver.
Tip Off:
- Close the Isolation Valve.
- Tip Off the tubulation with a little length so that you can do a closer tip off later.
- Reset manifold:
- ISO-Closed
- Manometer (Fill Gauge)-Closed
- Thermocouple (Micron Gauge) -Closed
- Main Vac-Closed
- All metering valves-Closed
- Sit with the piece run it for few hours attended, checking for temperature of the Plasma Driver and vessel, The vessel should not be uncomfortably hot, meaning it should not be higher than 100*F and the plasma driver should not be hotter than 114*F (though heatsink and fan cooling can help); look changes in the plasma. Check reading with HV Probe to see if voltage change, and take notes.
- If everything works out after week of testing, tip off close the the electrodes using Hand Torch.

2 responses to “Notes | Simplified Plasma Filling Process”
Thanks for the process notes, very helpful. Please clarify the electrode processing step a bit more. Is induction heating done while the piece is at full temperature (e..g 600 F), or do you let it cool some to make it easier to use the induction heater? Most induction heaters seem to have a short coil and I would think it would be challenging to reach into a hot kiln to use them.
Hi Steve,
Great Question. I use the induction heater when it has cooled to a comfortable temperature, then again I have access to Fluxeon Induction heater, which makes this task quite easy. Amy Lemaire will induct at around 500*F with protection from heat, such as welding jacket, welding gloves, and face Sheild and head coverings.